How to create an article
- Starting on your Dashboard, click Create new editions and select New Article.
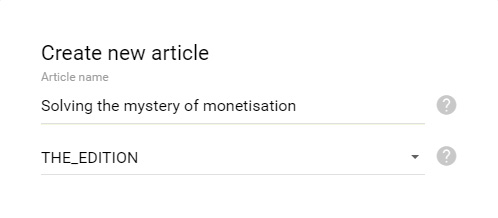
- Provide the article name and select the project in which the article will be created.
- Click Next and give the system a few second to create an empty article.
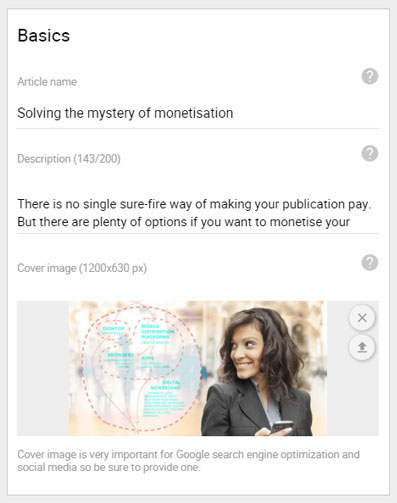
- When that process - which is indicated by the progress bar,- completes, continue by providing the article description and cover image.
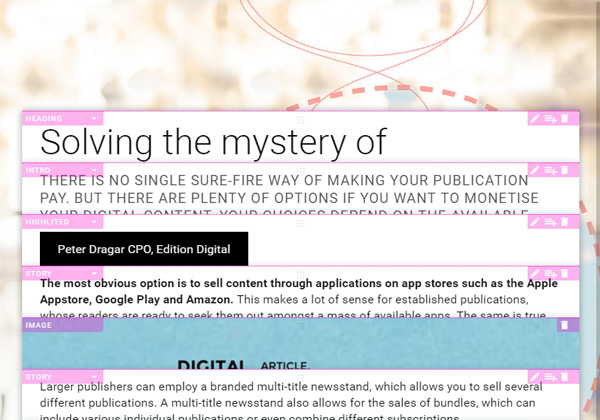
- Now select the Edit tab and start working on the article’s content:
- Select one of the available elements from the left and drag-and-drop it in the center work area,
- Provide, edit, and style the content to your liking,
- Click Preview to check your work,
- Repeat steps 6, 7,and 8 until the article is completed.
- Note that you can add, remove, rearrange, and edit the article’s elements at any time.
- Select the color you would like to use as the browser and article background.
- But, Instead of a background color, we suggest you use a background image, which will make your article much more appealing.
- Select a Template - which determines the style of individual elements,- and one of the color Themes.
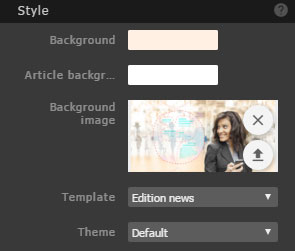
- Again, use Preview to check how the changes you’ve applied affect your article’s appearance.
- When you’re happy with your article, move on to the Personalize tab:
- Provide your logo and a few words about yourself.
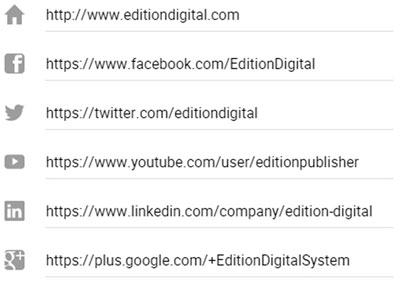
- Provide links to your social channels.
- Select which sharing options you want to enable.
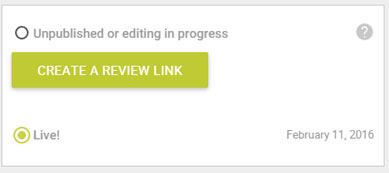
- Now you can publish your article so return to the Main tab:
- Update the custom URL segment if required.
- Click Live if you want to publish your article right away, or set a future Live date for the system to publish the article automatically.
Have a look at this and a few other articles on Insight and innovation in digital publishing.

Have something specific in mind? Don’t worry, just type what you are looking for. Here is our searchy searched.